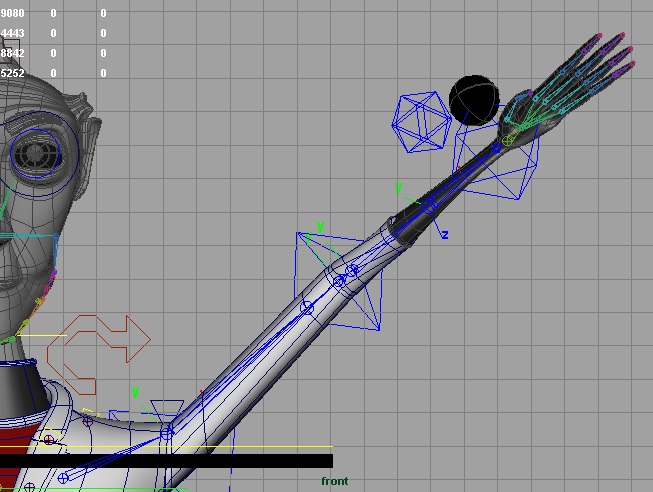
When it comes to rigging most people want it over and done with and move to that animation but as Ive learned, the more time spent thinking about how to make a rig better, the less errors and unusual poses there will be when animating. The link and picture below show how ive re-made the arm for my character Doctor negative.
Things like adding a set driven key for the shoulder - when the shoulder is in the t-pose this is the maximum rotation up it has, after that any rotation is due to the shoulder join moving up, so here i have added a set driven key so when animating, the animator doesn't need to worry :D
The wrist and fore arm rotation - Here it importation to know that there is no or little twisting of the wrist, the twisting actual comes from the fore arm where there are 2 bones in a human arm wisting, this can easily be simulated by adding an extra joint between the wrist and elbow and have the twist of the wist actually rotate the new forearm joint.
The elbow - to begin with i just had one joint for the elbow but then i decided to add another to keep some volume instead of a sharp point when the elbow rotates. To help even more, instead of using an orient constraint on one joint i set up some nodes. the rotation of the shoulder control curve goes into a multiply divide node, then *0.5 (so half the value), then input into the rotation Y of the two joints, this way the full rotation is distributed between the joints giving a small arch, this helps keep the shape of the elbow.
So most possible rotation here is achieved via the elbow?
ReplyDeletePS: call him... DR NO!!!
the elbow can only rotate into the T-pose, then if it goes higher that's a result of the clavicle.
ReplyDelete